 Serves: 20+ (depending on size of portions) Total Time: Prep time: 20 minutes Wait time: 6-7 hours Cook time: 10 minutes Notes: *It is very important to let the eggplant sit under the weight for at least 6-7 hours so that the water can come out. The longer it sits under the weight, the better. Ingredients
Instructions:
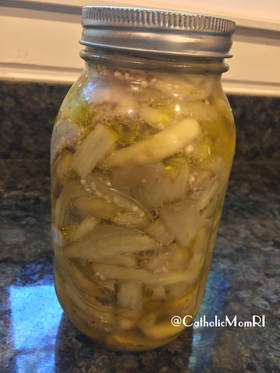
Nutritional Information: Per Serving: Calories: 7, Carbs: 1, Fat: 0, Protein: 0, Sodium: 228, Sugar: 1. Notes: *It is very important to let the eggplant sit under the weight for at least 6-7 hours so that the water can come out. The longer it sits under the weight, the better. Our fellow parishioners at our church have become somewhat of an extended family to us. There is an Italian gentleman at our church who reminds me a lot of my late nonno. In fact, we say that he is my son’s honorary great-grandpa (nonno-nonno in Italian.) While my husband and I had a garden this summer, our son’s nonno-nonno has given us a variety of vegetables and fruit that we did not grow on our own this year. He even gave us his homemade wine, which my husband savored to the last sip.
This past Sunday, ‘nonno-nonno’ gave us some “garden treasures” and I was so excited! This time he gave us a bag of fresh eggplant. I immediately thought of my late nonna’s recipe for pickled eggplant or melanzane sott'aceto. My mouth began to water the second I saw that it was eggplant in the bag. I remember my nonna would always search for the slender and long eggplant and admonish any eggplant that was too thick. She said that the longer and leaner the eggplant, the better, as they get more bitter as they get larger. I keep that tip in my mind each time I purchase eggplant at the store. I was even more excited when we got home and I saw that the eggplant that he gave us were ones that my nonna would have picked herself. So, I washed, peeled, sliced, salted and placed the eggplant under weights. (Literally, I used exercise weights on top of the cutting board.) Please do not rush this step. It is important to get as much water out of the eggplant as possible so that it can absorb the vinegar while par-boiling. I chose to slice the eggplant into strips but they are also delicious in slices. While I love to eat this pickled eggplant as is, you can put it on a sandwich, on a charcuterie board, over grilled chicken or on a garden salad. While my son is not a fan of this particular recipe, that just means that there is more for us! 😉 I offer him some each time I eat it in hopes that he will eventually grow to like pickled eggplant, as I love pickling vegetables. Please share this recipe for Pickled Eggplant (Melanzane Sott'Aceto) on social media and if you post pictures of your finished product, be sure to tag us in your pics: @CatholicMomRI (Our handle for all social media). Buon appetito!
0 Comments
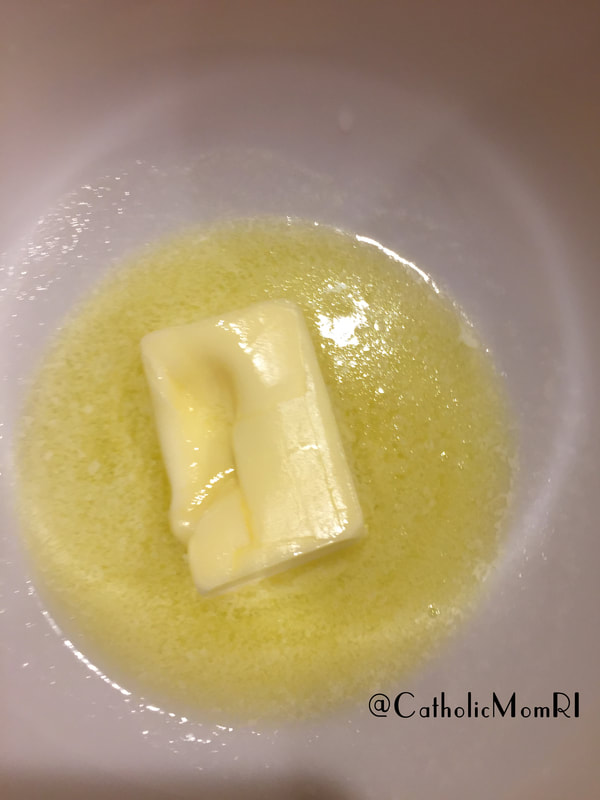
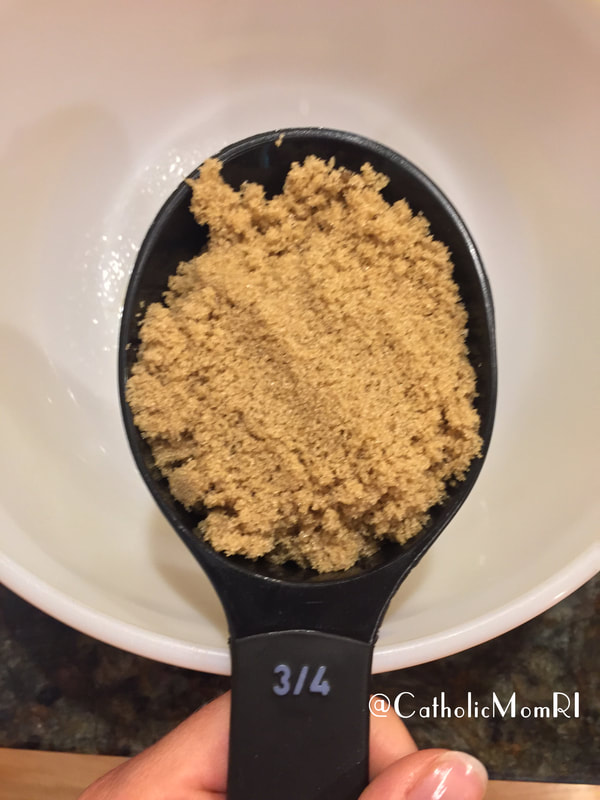
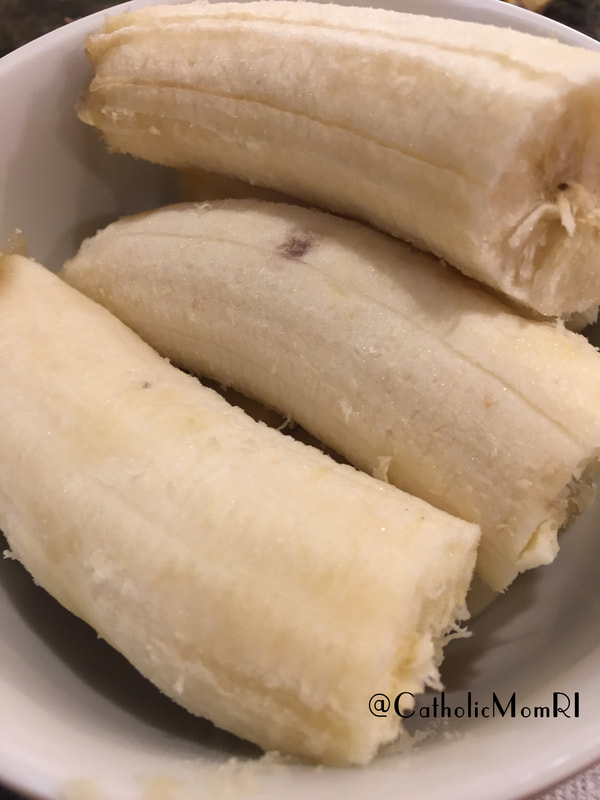
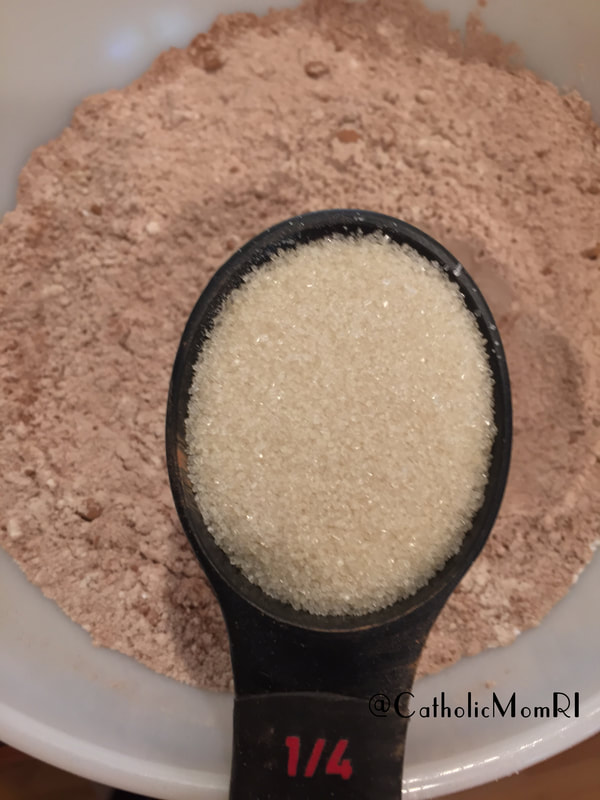
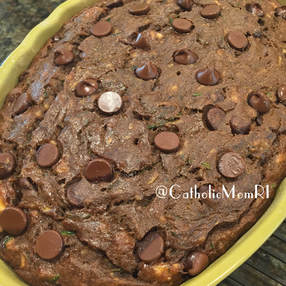 Serves: 10-12 (depending on size of portions) Total Time: Prep time: 20 minutes Cook time: 60+ minutes Notes: *You can use ½ cup of applesauce instead of the banana if you aren’t a fan of banana bread. Ingredients
Instructions:
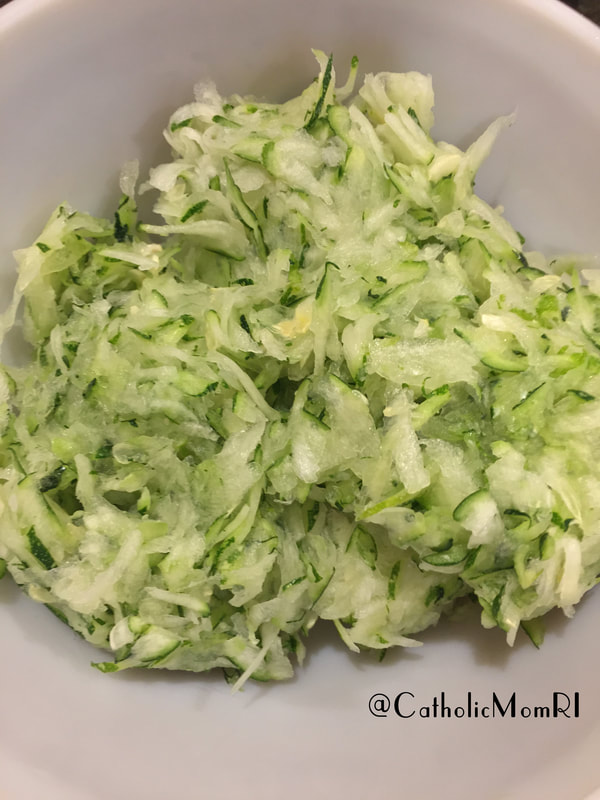
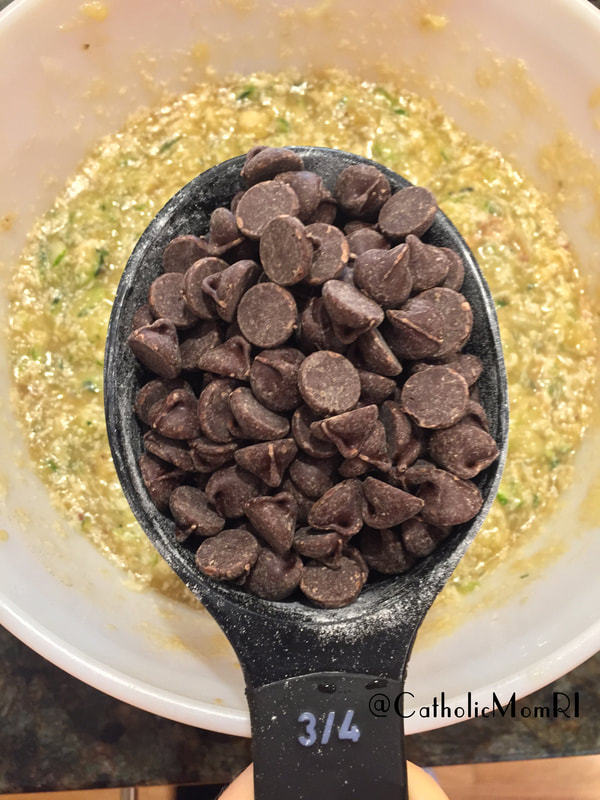
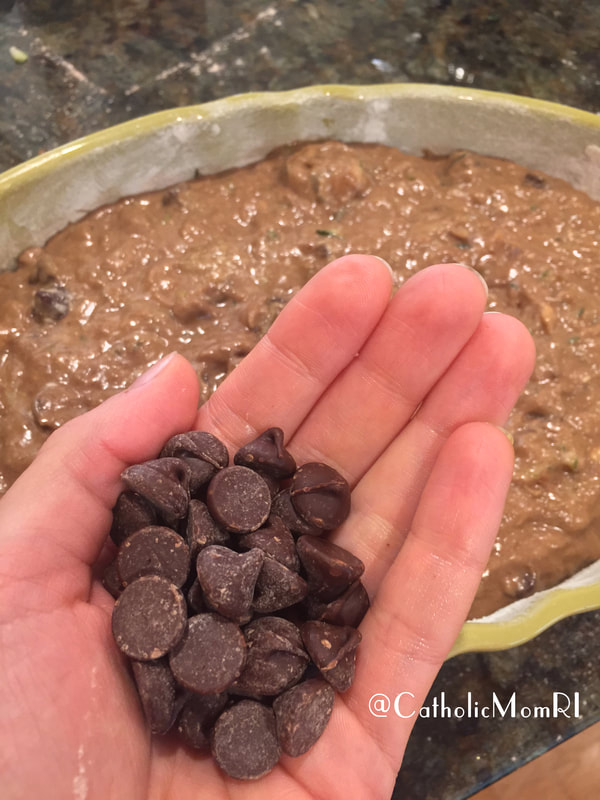
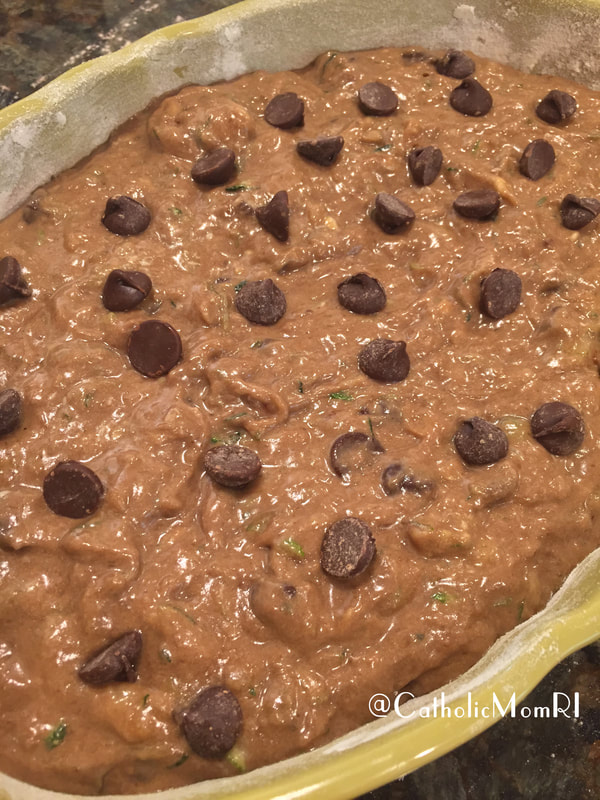
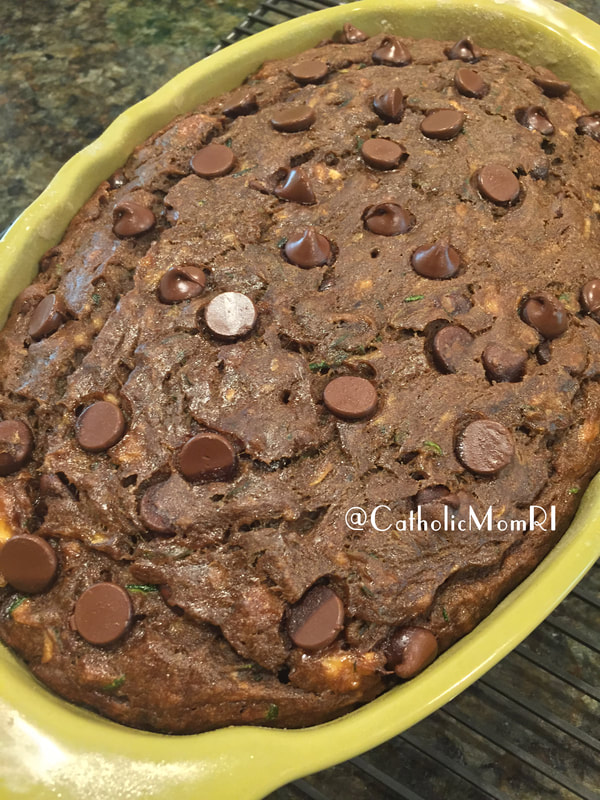
Nutritional Information: Per Serving: Calories: 245, Carbs: 36, Fat: 12, Protein: 2, Sodium: 148, Sugar: 27. Notes: *Stick a toothpick in the center of the bread. Pull it out. If it is dry then the bread is finished. If there is residue on the toothpick, then the bread is not cooked and needs a few more minutes to finish cooking. *You can use ½ cup of applesauce instead of the banana *I adapted this recipe from Mom on Time Out -I wanted more chocolate :) As a parent, I try to get as many vegetables and fruits into my little love’s diet. For the most part, we have been blessed with a good eater. Of course, there are times what I intend on him eating and what he actually eats does not equal up. There are days in which he gobbles up all the food that is served and there are other days I wonder how his growing body can possibly survive on apple, milk, yogurt and puffs alone. This summer, my husband and I decided to grow some vegetables and herbs in a garden. While it was a small garden, it yielded quite a bit of harvest for our family! A staple in any Italian garden is zucchini, so we planted two rows of zucchini and hoped it would grow. Did our prayers get answered! Let’s just say that we’ve eaten quite a bit of zucchini this summer! I began to run out of ideas on what to make with it and while I had never made zucchini bread before, I remember hearing that it can be quite tasty. In the past, my hesitation to make zucchini bread was that I thought it would be both a pain and time consuming to shred the zucchini. Thankfully, I was wrong. It took less than three minutes to grate the entire zucchini. I used the larger holes on a cheese grater and grated it directly in the large bowl I used for the recipe. Just be careful that you don’t grate your fingers by accident-- ouch! This is a recipe that my entire family loved and looked forward to eating. I adapted this recipe from Mom on Time Out since I wanted it to have more chocolate. You can find that recipe here. You can also use ½ cup of applesauce instead of the banana if you aren’t a fan of banana bread. The consistency of the zucchini banana bread was more like cake. For two days after, we enjoyed the left-overs for dessert after dinner. My little love devoured his and I admit that it was his lunch the next day! I felt less guilty allowing him to have it for lunch since 1. I am almost certain that he is getting his two-year molars early (joy!) and 2. There is both a vegetable and a fruit in the cake-like bread. Please share this recipe for Double Chocolate Chip Zucchini Banana Bread on social media and if you post pictures of your finished product, be sure to tag us in your pics: @CatholicMomRI (Our handle for all social media). Buon appetito! 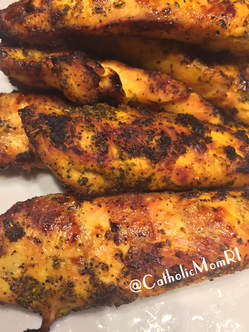 Serves: 4-5 (depending on size of portions) Total Time: Prep time: 15 minutes Marinate time: 3 hours (at least) Cook time: 20-25 minutes Notes: *I always test the meat with a meat thermometer before removing from the grill. See guidelines for cooking temperature for chicken here. Ingredients:
Instructions:
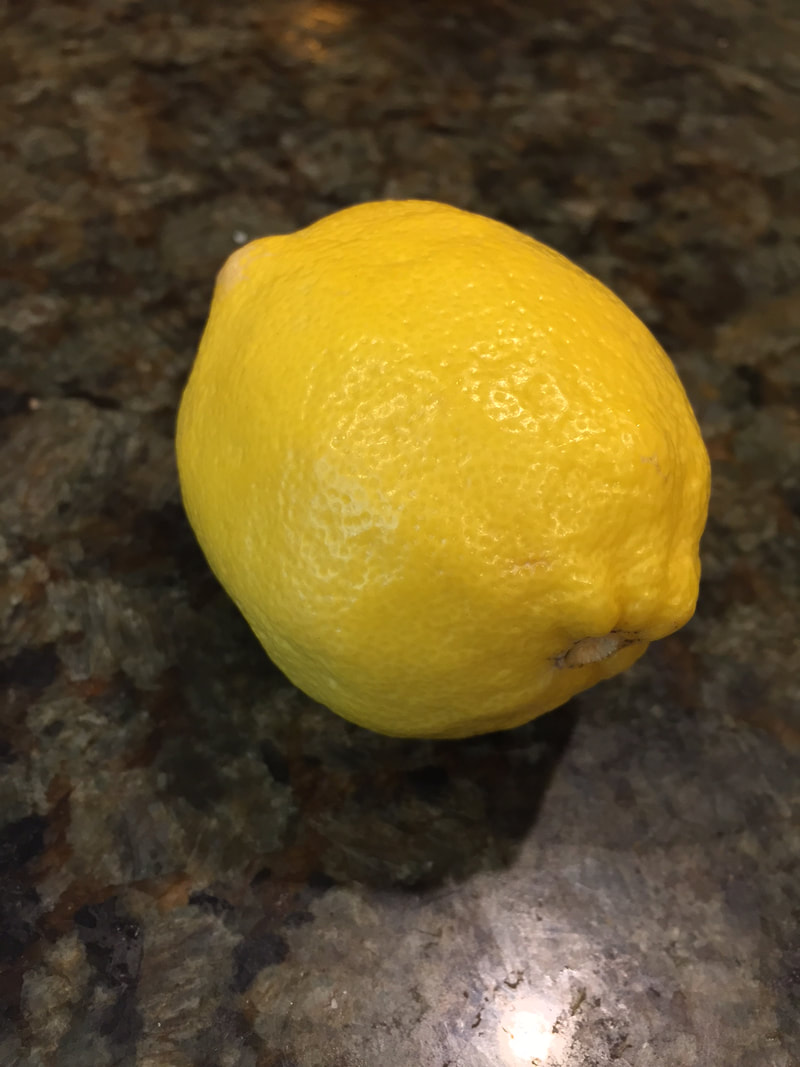
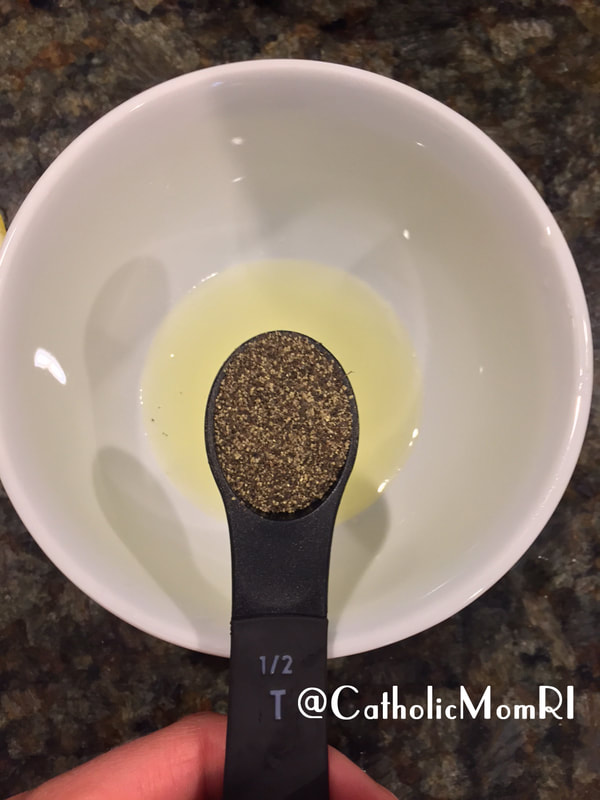
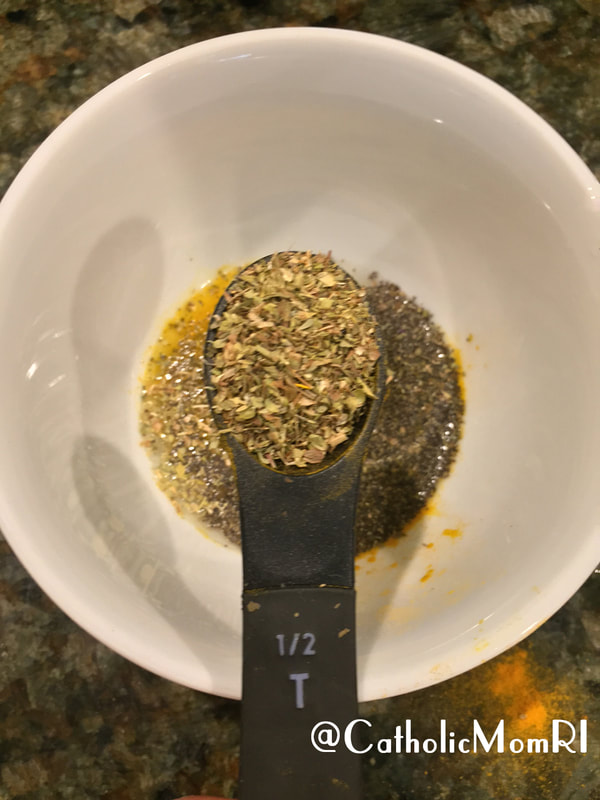
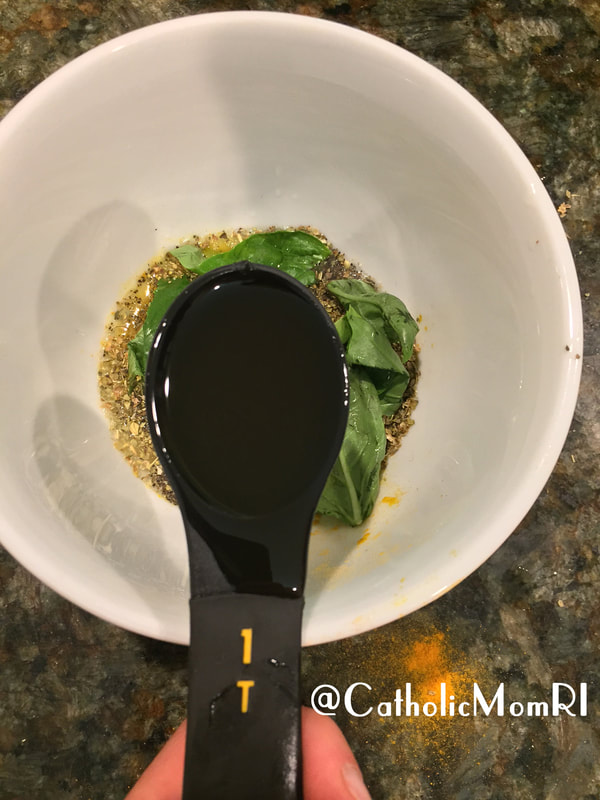
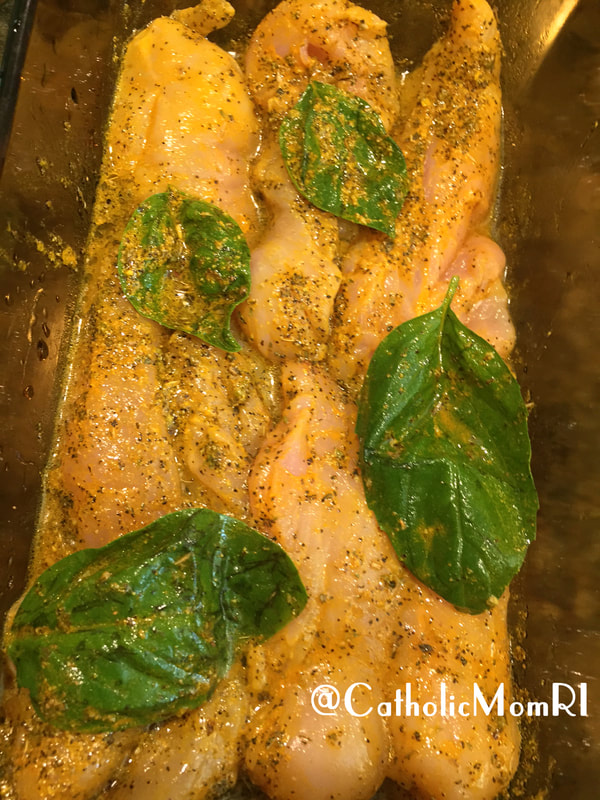
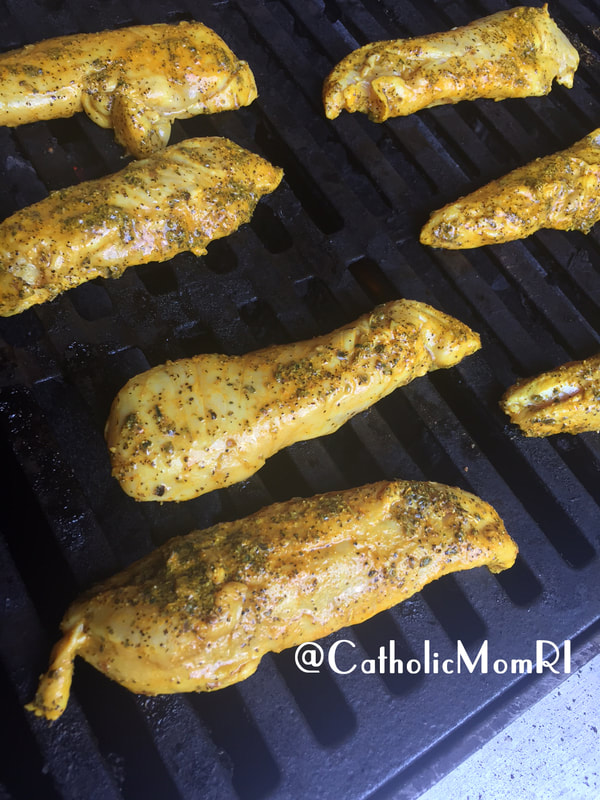
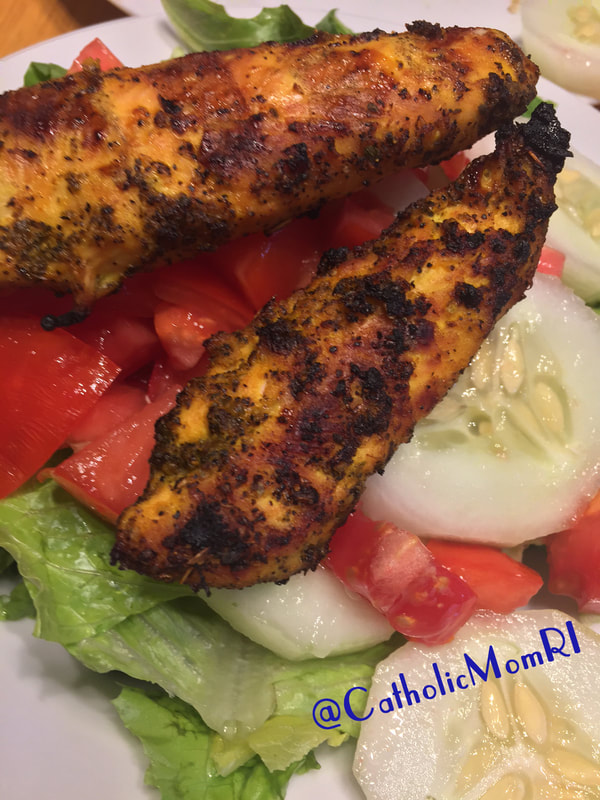
Nutritional Information: Per Serving: Calories: 187, Carbs: 2, Fat: 6, Protein: 36, Sodium: 166, Sugar: 0. Notes: *I always test the meat with a meat thermometer before removing from the grill. See guidelines for cooking temperature for chicken here. I love summer and everything that comes along with it. Okay, almost everything that comes along with it—bugs, spiders and humidity; without those summers in Rhode Island would be almost perfect! Each year as summer begins to wind down and thoughts of fall begin to slowly loom, I start to imagine the cold, damp weather and months of being stuck indoors. While I certainly love autumn and always look forward to celebrating the season, it is always a bit sad to see the summer go. But at least the bugs, spiders and humidity will (hopefully) go away too. During the summer, I love to cook on the grill as much as I can and I especially love cooking fresh vegetables from our garden on the grill. This year, my husband and I started a garden in our backyard. It is a small garden—only a few tomatoes, basil, cucumber, zucchini and jalapeño plants. It pales in comparison to the enormous garden that both of my Nonnos (grandfather in Italian) had but we enjoy it and it has yielded a decent and delicious crop. Since it can get really hot in Rhode Island, cooking on the grill also helps keep the house cool and gives us a chance to enjoy the weather outside. However, when cooking meats on the grill, I am always cautious. According to Dana-Farber Cancer Institute, “high-heat grilling can convert proteins in red meat, pork, poultry, and fish into heterocyclic amines (HCAs). HCAs are chemicals that have been linked to a number of cancers. When fat and juices from meat products drip down to the heat surface on a grill, smoke is produced. This smoke contains potential cancer-causing chemicals called polycyclic aromatic hydrocarbons (PAHs). As smoke rises up past the food, the carcinogens can be deposited on the surface of the meat.” That all sounds scary, right? The good news is that according to Dana-Farber, “marinating chicken, fish and meat has been shown to reduce levels of cancer-causing compounds formed when grilling. When using marinades, thinner is better. Choose marinades that contain vinegar and/or lemon.” (Learn more about safe grilling, here.) This is why I created my Lemon Herb Marinated Chicken Recipe. Please feel free to use this recipe for your next barbeque! Hurry to get the grill out one (or a few) last times before summer is over. My family loves this recipe and it goes wonderful with fresh veggies from the garden! Please share this recipe for Lemon Herb Marinated Chicken on social media and if you post pictures of your finished product, be sure to tag us in your pics: @CatholicMomRI (Our handle for all social media). Buon appetito! |
AuthorWrite something about yourself. No need to be fancy, just an overview. Archives
March 2018
Categories |


 RSS Feed
